The next step was to actually glue that sucker in there, and after reading a bunch of forum posts about getting the engine mounted right (thrust angles!) I decided to bite the bullet and glue that sucker in. I ended up using the same angle that the instructions recommend (I think its 2 degrees to the right) and mounted it pointing a bit down. Hopefully that'll be enough of an angle to offset the torque from the motor. We'll just have to wait and see when I maiden it.
But wait! Thats not all! On Saturday, I decided to get off my duff and do some more work. *Gasp*
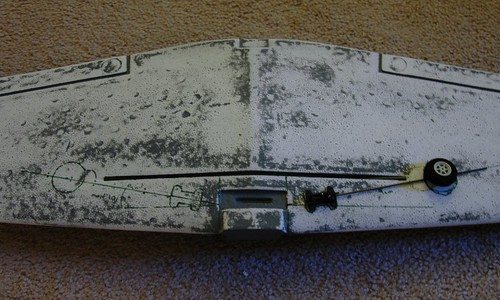
I'd received the retracts that I'd ordered on Friday, so I set about planning on how to mount them. After much referring to various pictures and looking for examples on the web I marked off the position of the wheels and mounts. I also took the opportunity to glue in the wing-spar. I used a hollow carbon-fiber tube that I have on hand (I'm going to use them to attach the engine nacelle later) instead of the pole that came with it (since the carbon-fiber is lighter).
The thought of cutting into the wing absolutely terrified me, so I promptly set that aside and set to work on something a lot less scary.
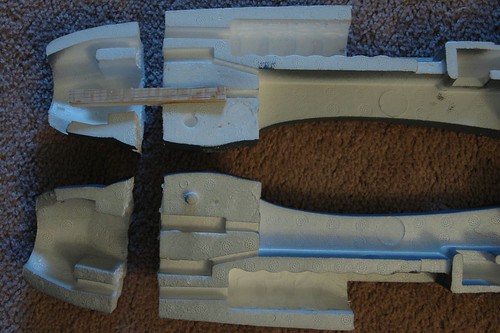
The modification I had originally planned to make to the fuselage before it got glued together was to modify the engine nacelle so that it was detachable. This will make getting to the engine a lot easier [read: possible] and is a pretty popular modification for this model.
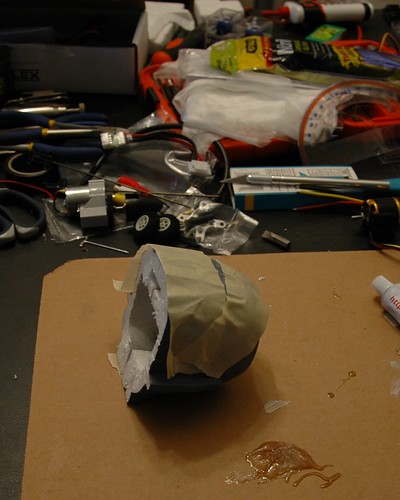
I was humming and hawing about whether to cut the nacelle off before or after I glued it, and decided to do it before. I was a bit sloppy with the Xacto knife, but I think it wasn't too terrible. I'm hoping to be able to clean it up a little when I mount it back on the fuselage (with a little help from my good friend Mr. Lightweight Spackle and Mrs. Sandpaper).
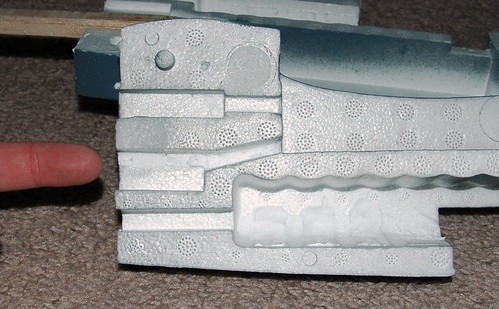
After cutting the nacelle off, I decided that I might as well give the motor and ESC a test-fit to make sure everything was going to meet up in the right places before I glued it all together. Boy am I glad I did! It turns out that the wires on the ESC and the motor were just a little too short (because I had to mount the motor out a little further than originally planned). Since I hadn't glued the whole thing together yet I was able to fix the problem by enlarging the wire channel from the nacelle a bit. This would have been a HUGE pain if I had already glued everything together.
With my trusty Xacto knife I managed to do quite a nice job straightening out the channel to give myself that tiny little bit of extra space that would allow me to mount the ESC right up front.
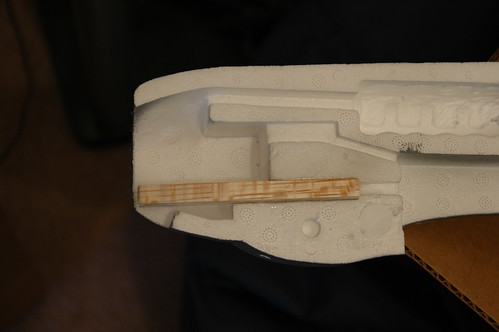
It was right before I reached for the glue (for the second time) that I remembered something I'd seen on a 109 build thread about a different way to mount the aileron servos (instead of the double-sided tape the instructions mention). So, I whipped out the Dremel and the Xacto knife and made myself a little tray for the aileron and rudder servos. I had to shave off a little of the foam in the fuselage to keep them the same height as they would have been before, but since I hadn't glued the fuselage together yet it was really easy.
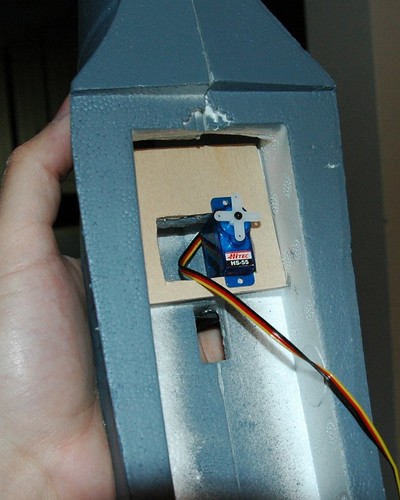
There are two reasons I can think of to mount the servos this way: 1) This fixes them more tightly in place (they don't flex at all because they're screwed into the wood) and 2) I can more easily change the servos if anything goes wrong.
With all of that done, it was time to bite the bullet and glue that bad boy together:
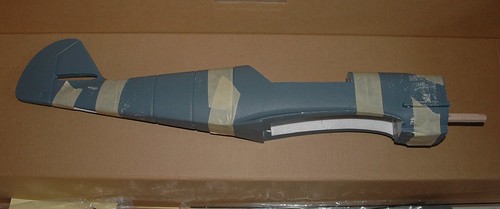
Here's the nacelle all glued and taped up:
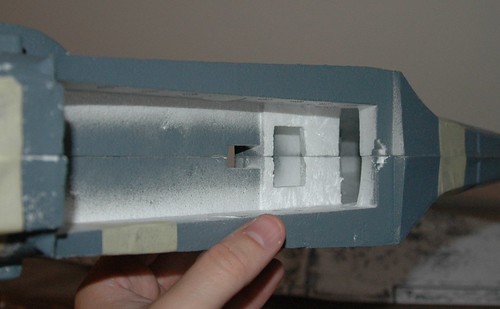
I haven't actually mounted the little servo tray yet, but here's a shot of where it will go (you can see where I cut away enough foam to keep them mounted in the original position).
Next stop: Retractville
No comments:
Post a Comment