Well, I finally got around to doing some more work on the plane, the next task was to re-attach the nose that I so callously cut off so that I'd have access to the motor mount once the plane was all glued together.
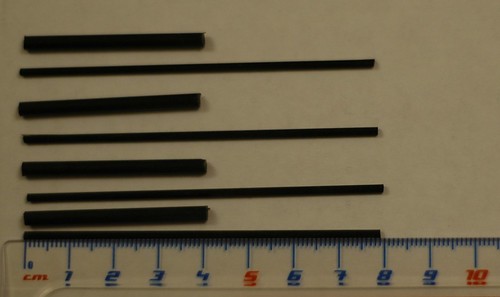
First, thing I went and bought some carbon-fiber rods (1.8mm diameter I believe) and some carbon-fiber tubes (with an inner-diameter of 1.8mm to match the rods) that would slot inside of each other.
Then I proceeded to cut them up. The tube that the rods would slip into got cut to about 4cm, and the rods to about 8cm (twice the depth of the tubes). I figure this should give me plenty of strength and space to work with when I'm sliding the nose on and off, without having the rods or tubes long enough that they'd poke through the cowling of the plane.
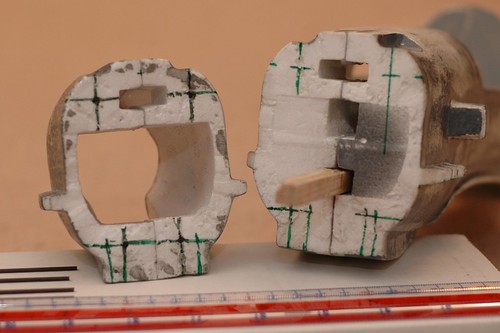
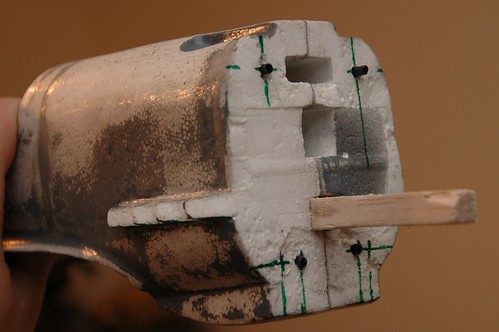
The next step was to mark the points where I wanted to put the rods (on the cowling ). I marked the cowling first because it has the least amount of excess foam, and so would be trickiest to get the rods in safely.
From those marks I extrapolated out to the edges of the plane, held the cowling flush with the fuselage and marked the same points on it, and then extrapolated back inwards to get the point on the fuselage that would be around the same spot. It was hard to check if it was correct or not, but it turns out this worked pretty well.
Next step was to grab a little drill bit (actually just smaller than the rods) and drill a guide hole into the cowling for the carbon fiber rods. I drilled the holes by hand because it's pretty delicate work and I needed to take my time and make sure I didn't end up drilling out the side of the cowling.
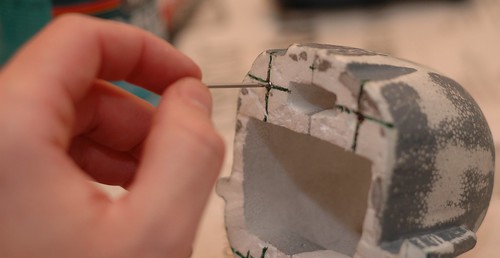
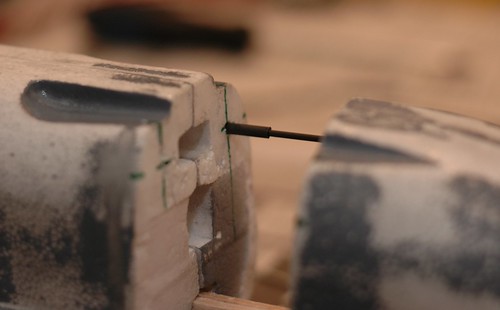
Once that was done, I test-fit the rod in the hole to make sure it looked pretty straight. Success!
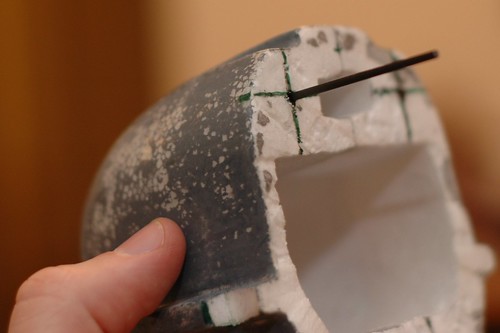
I repeated the process 4 times until all of the carbon fiber rods had nice little holes to poke into.
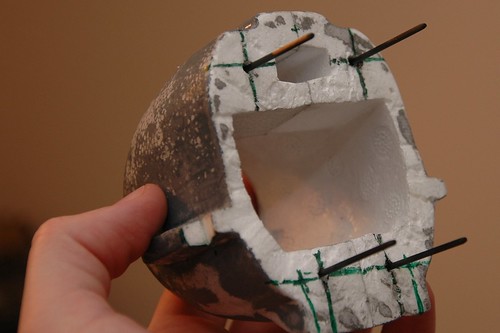
Then, I did the same thing (with a slightly larger drill bit) for the 4 tubes in the fuselage half.
A quick test-fit with one rod and tube...
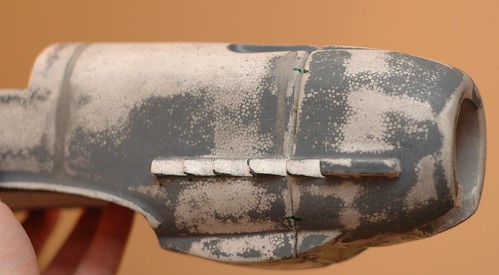
... and then give it a shot with all 4.
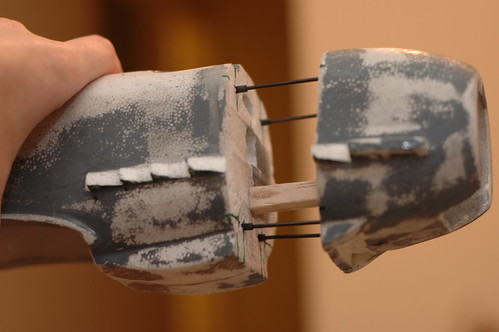
Next thing you know, the plane has a nose again!
Now all I have to do is glue these things in there to make it nice and permanent... But it's too late to do that tonight, but soon.
Some tips that I picked up:
- I had to shave about 1cm off of the rods before they would go into the tubes smoothly. I think they ended up a bit long because the drill bit I had was too short to get all the way into the cowling. Probably a good thing since I think I was really close to the other side... I might make the rods a little shorter (about 7cm instead of 8cm).
- Getting the rods to slot into the tubes is a little tricky. It helped a ton to file the tips of the rods that would go into the tubes down so that they were a little pointed. It doesn't have to be sharp, just enough that they are guided into the tubes from a rounded end.
- Take your time drilling, and do it by hand. Make sure the holes are nice and straight and it will all work out.
No comments:
Post a Comment