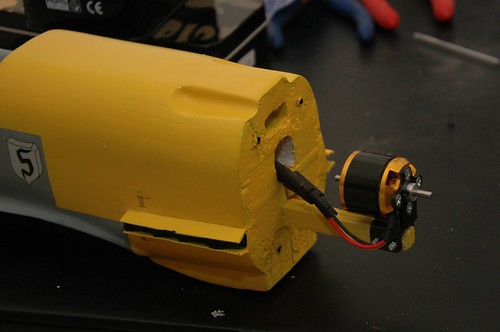
First I had to mount the engine, drilling pilot holes and mounting it with some bolts I picked up at Home Depot. I also had to solder on the bullet connectors for the engine and run the wires through the hole to the compartment over the wings in the fuselage. This required a little more hollowing out of the space, since it wasn't quite large enough to let the wires run through comforatably. It would have been a good idea to do this before putting the plane together.
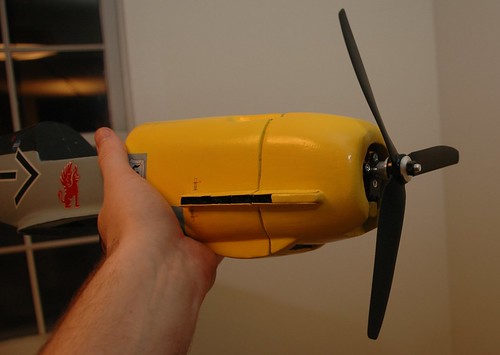
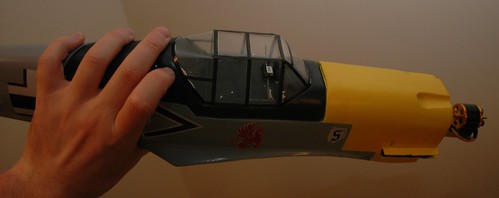
Here's a shot of the nose attached with the prop actually sitting on the motor:
Next I installed the servo for the ailerons. I used adjustable servo connectors on the servo itself so that I could make adjustments to the length of the servo rods without having to re-bend them every time. This made it much easier to get things installed. I used the same approach on the rudder/aileron servo rods.
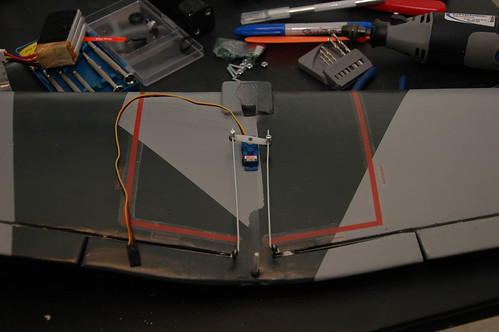
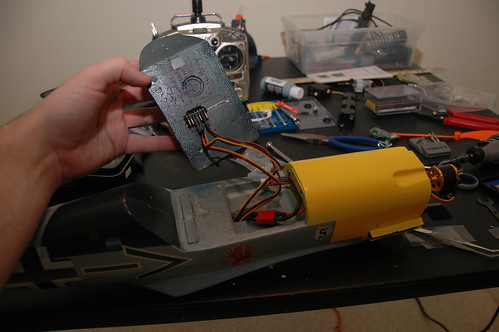
Next I used some velcro adhesive strips to mount the speed controller in the cavity above the wings. You can see the wires going forward to the engine, along with the servos installed for the rudder and elevator. The elevator and rudder servos are labelled so I could tell which was which when hooking them up to the receiver.
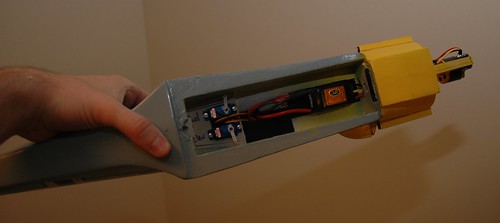
The last step was actually installing the radio receiver, which I had a little trouble with. Basically the battery compartment was too small to fit the full receiver and the battery, so I had to install it in the removable cockpit. This actually ended up working out pretty well, since it means the aerials for the receiver were out of the way of everything. You can see I had to label the connectors on the cockpit because they weren't visible anymore.
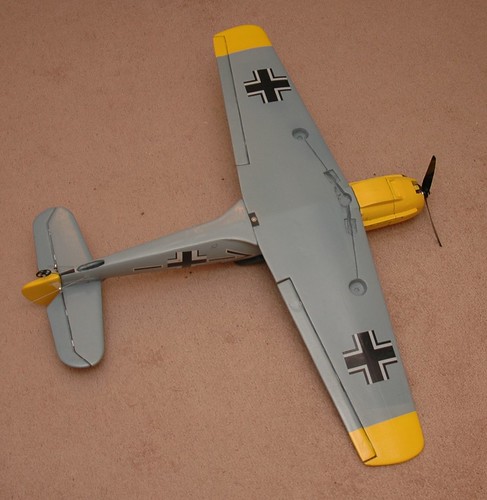
And here's the bottom:
That was pretty much it! The last thing to do was to put it all together. Here's some shots of everything all assembled:
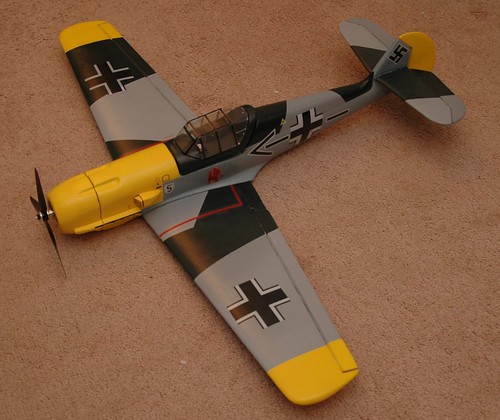
Sexy.
No comments:
Post a Comment