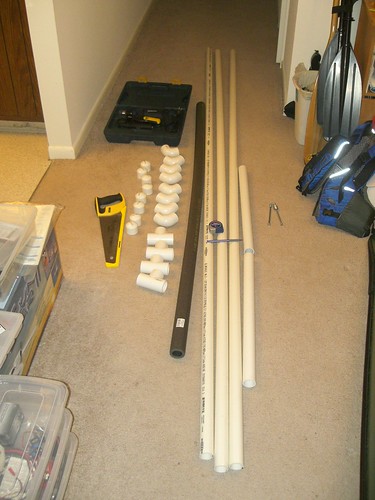
After a quick run to the hardware store, I came back with the following:
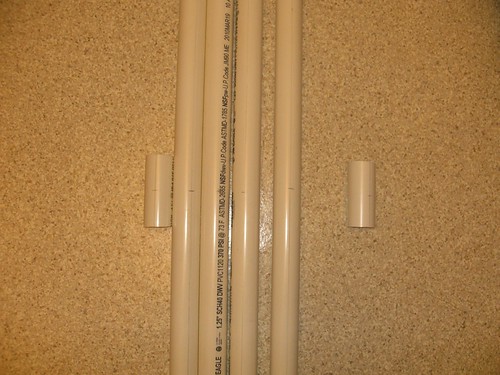
- 3x10' lengths of 1.25" (internal) diameter white PVC pipe
- 2x3' lengths of 1.25" (internal) diameter white PVC pipe
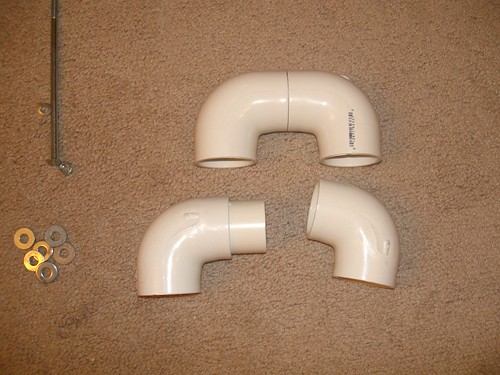
- 4x T-junctions
- 8x End-caps
- 8x 90 degree elbows
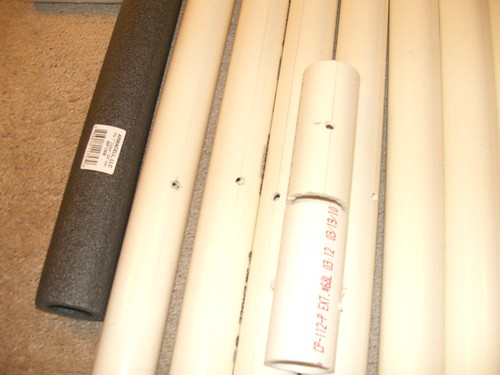
- 6' (I think) pipe insulation
- 12 washers
- 2 nuts
- 2 6" bolts
I assembled a few tools:
- Screwdriver with nut-driver
- Hand-saw
- Drill with bit approx. same size as bolts
- Pencil
- Measuring Tape
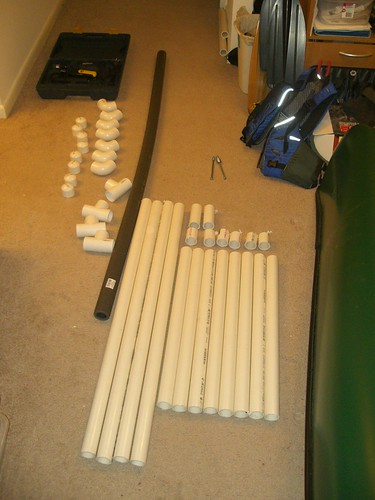
And laid it all out. Since it was getting on in the evening, and I'm not supposed to make too much noise after 10, I frantically set to work.
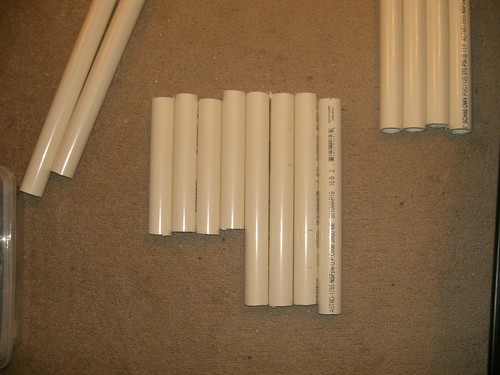
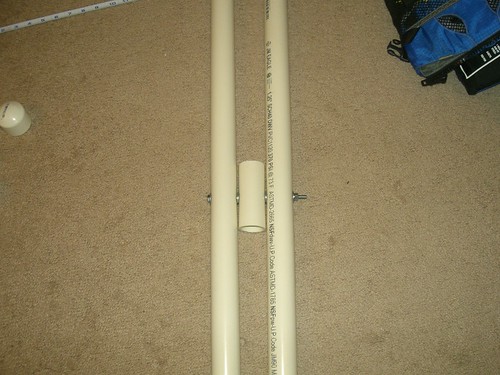
First I cut the 10' sections into the following lengths: 4x40" shafts, 6x25" shafts, 4x2" bits and 2x4" bits. Besides the 4" bits it all managed to come out of the 10' poles. I ended up with some spare PVC at the end, because in fact I cut a little more than I had to. I measured only once.
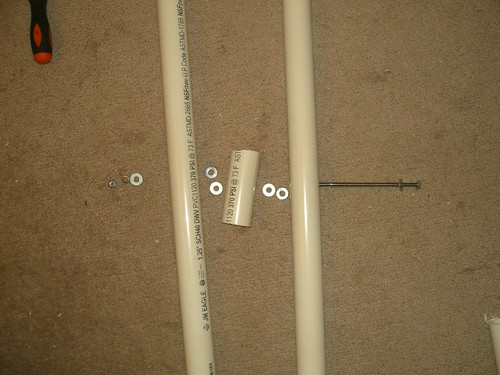
Next on the 40" shafts and 4" bits I marked the centers on each side of the pipe, and drilled a hole through each of them.
Then I went and cut 4 of the 25" shafts into two pieces: one 10" and one 15". These pieces would become the feet of the rack and were offset with the idea that the feet would be the same length when folded.
That was the end of the cutting. I tried to front-load as much as possible so that I would be done before it got too late. With that done, I started to assemble the actual rack.
First off, I put the corners together using the 2" bits of pipe to join them.
Next I joined them with one of the remaining 25" sections.
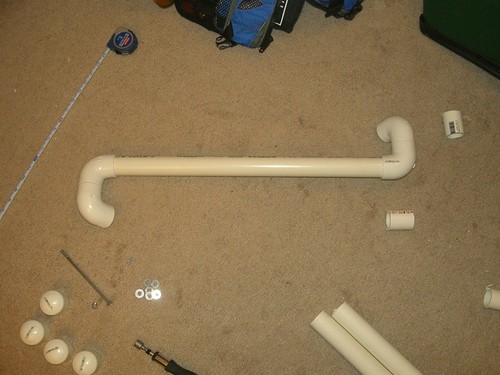
This would form the top of the rack, where the gunnels of the canoe would rest.
Next I took two of the 40" tubes and the 8" spacer and put them together.
The bolts I had were just a little too long, but I had just enough washers to make it work.
Next I put the feet together, and it started to take shape.
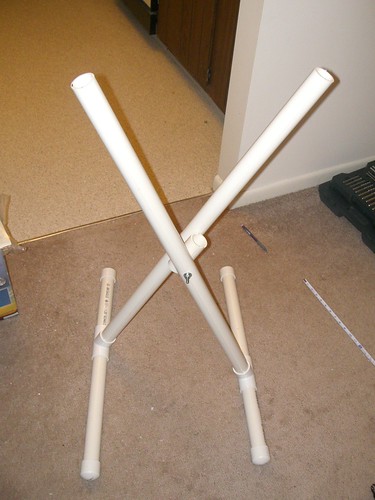
Next I put the top of the rack on, using the 90 degree elbows to line up the tops of the tubes. It ended up being a little twisted, since I didn't take into account the amount of extra space the elbows would add, but with a little elbow grease it went on.
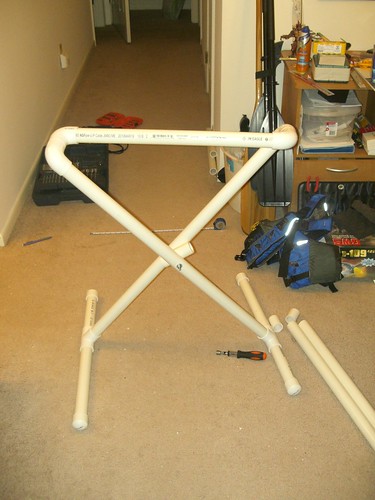
I repeated the whole procedure a second time for the other half of the stand, and then popped the insulation on the top to give the canoe something soft to rest on. I still need to re-arrange some stuff to get it closer to the wall, but you get the idea.

I'm pretty happy with it, and extremely satisfied that I managed to get it together in a single night. Now if only it wasn't so late I could run the vacuum and clean all this PVC debris off my kitchen floor...
No comments:
Post a Comment